Beginner’s Guide to 1:1 Epoxy Resin: Everything You Need to

Epoxy resin is a popular and versatile material used in a wide range of creative and industrial applications. Whether you’re crafting jewelry, creating art, or working on home improvement projects, epoxy resin can offer a durable, glossy finish that enhances the beauty and functionality of your work. For beginners, understanding the basics of 1:1 epoxy resin is essential to achieving successful results. In this guide, we’ll walk you through everything you need to know to get started with 1:1 epoxy resin, from choosing the right supplies to mastering the application.
What is 1:1 Epoxy
1:1 epoxy resin refers to a type of resin system where the resin and hardener are mixed in equal parts by volume—one part resin to one part hardener. This simple ratio makes it particularly beginner-friendly, as it reduces the risk of errors during the mixing process. When mixed correctly, the resin and hardener undergo a chemical reaction, transforming the liquid mixture into a solid, durable, and high-gl
Why Choose 1:1
1:1 epoxy resin is ideal for a variety of projects because of its ease of use and versatility. Here’s why it’s a great choice
- Simple Mixing Ratio:
- Versatile Applications:
- High-Gloss Finish: 1
- Durability:
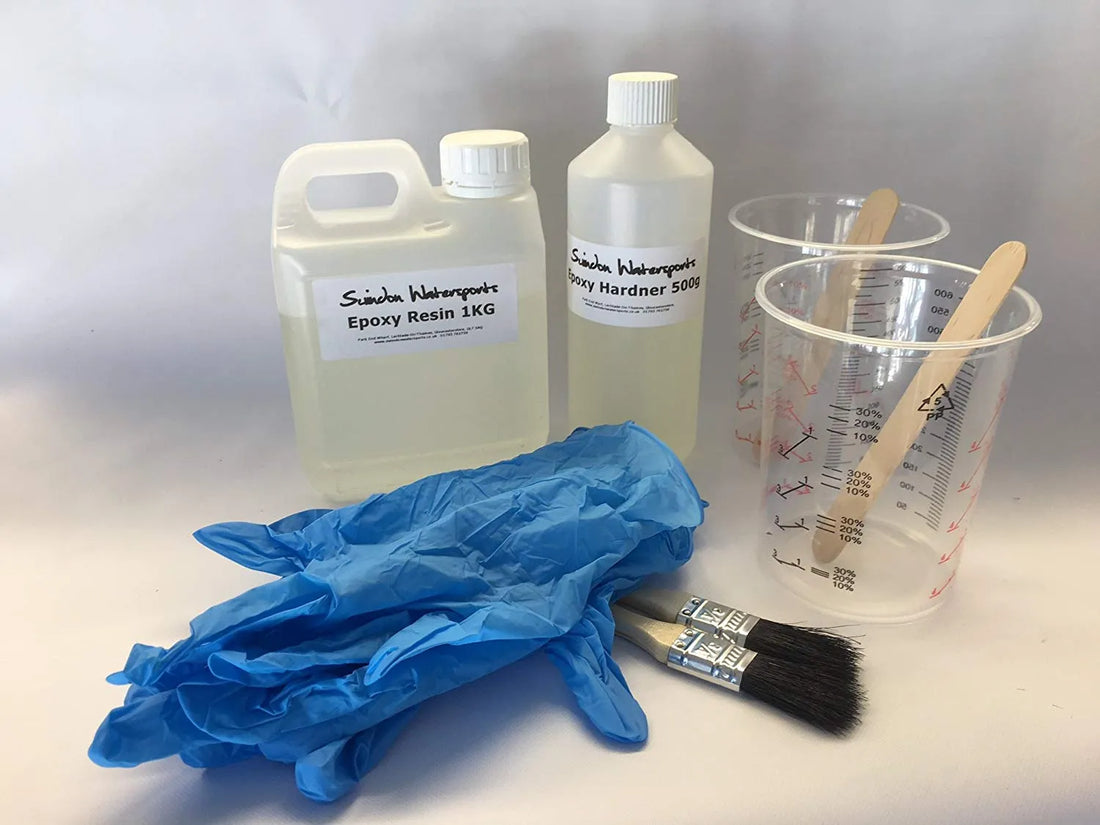
Essential Supplies for Working with 1:1 Epoxy Resin
Before you start your first project, make sure
- 1:1 Epoxy Resin Kit:
- Mixing Containers:
- Stirring Sticks:
- Measuring Cups:
- Protective Gear:
- Heat Gun or Torch: These tools help
- Drop Cloths or Plastic Sheeting:
- Molds:
Step
1. Prepare Your Workspace
- Ventilation: Work
- Surface Protection: Cover your work
- Level Surface:
2. Measure the Resin and Hardener
- Accurate Measurement: Use
- Combine the Parts: Pour
3. Mix the Resin
- Stir Thoroughly:
- Watch for Bubbles: Mix
4. Pouring the Resin
- Slow and Steady:
- Use a Heat Gun or Torch:
5. Curing the Resin
- Allow to Cure: Depending on the specific product, 1:1 epoxy resin typically takes 24-48 hours to fully cure. Leave your project in a dust-free environment and avoid disturbing it during this time.
- Temperature Matters: Epoxy resin cures best at room temperature (around 70-75°F or 21-24°C). Colder temperatures can slow down the curing process, while too much heat can cause issues like yellowing or cracking.
6. Finishing Touches
- Demolding: If you’ve used a mold, gently remove the cured resin from the mold after the curing period. Silicone molds are flexible, making demolding easier.
- Sanding and Polishing: If necessary, sand any rough edges with fine-grit sandpaper. You can also polish the resin to restore its shine using a polishing compound.
Common Challenges and How to Overcome Them
- Bubbles: If you notice bubbles in your resin, use a heat gun or torch to remove them immediately after pouring. For stubborn bubbles, you can also use a toothpick to pop them.
- Sticky or Soft Resin: This is usually the result of incorrect mixing ratios or inadequate mixing. Ensure you measure and mix the resin and hardener accurately and thoroughly.
- Yellowing: Prolonged exposure to UV light can cause resin to yellow over time. Use a UV-resistant resin or add a UV stabilizer to protect your projects.
Creative Ideas for 1:1 Epoxy Resin Projects
- Jewelry Making: Create custom pendants, rings, and earrings by casting resin in silicone molds. Add pigments, glitter, or small objects like dried flowers for a personalized touch.
- Resin Art: Pour resin over a canvas or wood panel to create abstract art with a high-gloss finish. Use pigments and alcohol inks to create stunning color effects.
- Tabletops and Countertops: Coat surfaces with resin to give them a durable, glossy finish. You can embed objects like seashells or photos for a unique, custom look.
- Coasters and Trays: Mold resin into functional items like coasters, trays, or serving boards. Customize them with colors, textures, and embedded objects.
Final Tips for Success
- Practice Patience: Rushing through the process can lead to mistakes. Take your time with measuring, mixing, and curing to ensure the best results.
- Test First: If you’re new to resin or trying a new technique, start with a small project to get comfortable with the material before moving on to larger or more complex pieces.
- Keep it Clean: Resin is sticky and can be difficult to clean up once it’s cured. Use disposable tools and protect your workspace to make cleanup easier.
Conclusion
Working with 1:1 epoxy resin is a rewarding experience that opens up a world of creative possibilities. By understanding the basics and following the steps outlined in this guide, you’ll be well on your way to creating beautiful, durable resin projects. Whether you’re making jewelry, art, or home décor, 1:1 epoxy resin offers the versatility and ease of use that beginners need to succeed. So gather your supplies, prepare your workspace, and start exploring the exciting world of epoxy resin!